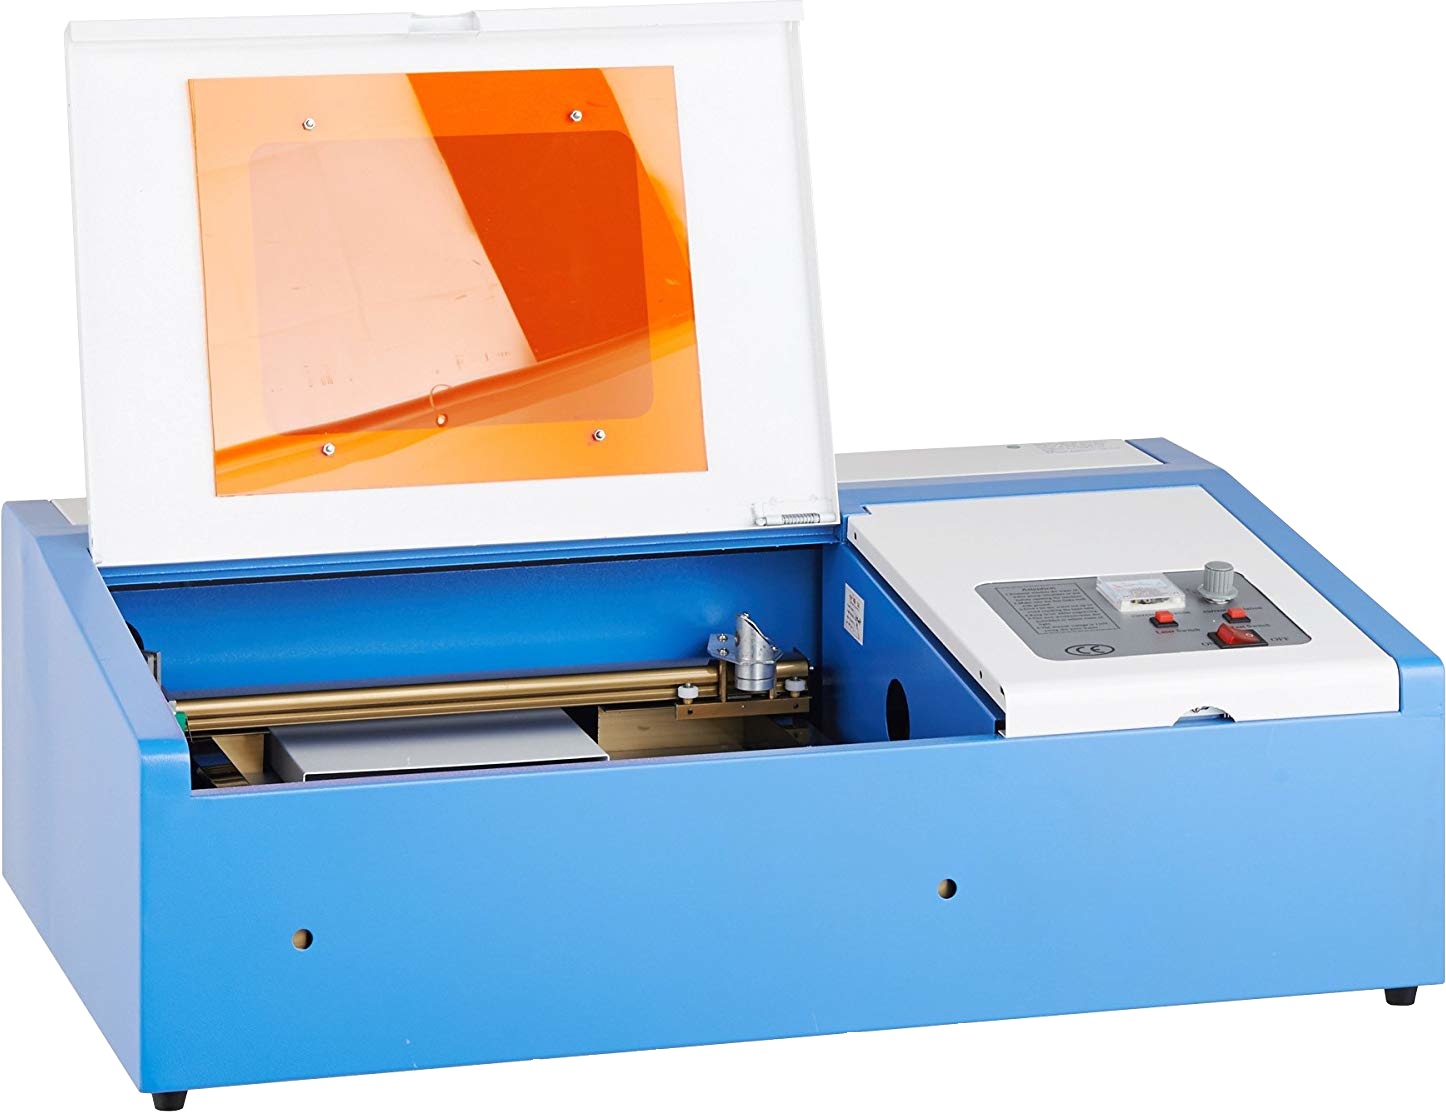
This 40W CO2 LASER is another great EBay deal but it comes with a notoriously poor control board and buggy software that is a add on to Corel Draw and requires a USB dongle to run. Here's how to upgrade the K40 with the Buildbotics CNC controller and make this inexpensive LASER into truly awesome tool.
Safety
LASERs can be extremely dangerous. Make sure you take proper precautions such as wearing LASER goggles that cover your eyes from all angles, have a sufficient rating for the power of your LASER and thoroughly cover the wavelength of your LASER. Please also read our disclaimer.
Features of the Buildbotics K40 Upgrade
- Easy access from any computer on your network
- Accurate engraving & cutting
- High speed image rastering (i.e. LASER cut photos)
- Dynamic LASER power automatically scaled for travel speed
- Homing procedure
- Automatic water pump and ventilation fan control (not yet described here)
K40 upgrade kit
What you need:
- K40 LASER cutter
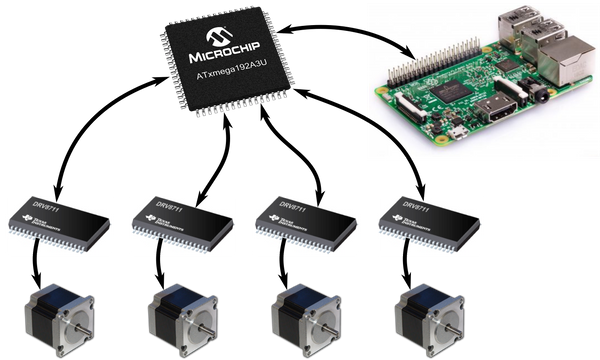
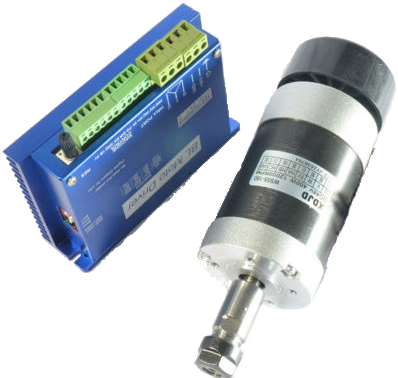
- Buildbotics CNC controller
- I/O Breakout Box (included)
- Buildbotics power cable (included)
- 4 x Buildbotics motor cables (included)
- 10k resistor
- 2n2222 or similar NPN transistor
- Middleman K���40 breakout board�
- AMP 1-84534-2 connector
- 18 AWG or similar wire, multiple colors
- Heat-shrink tubing
- Padded double sided tape.
- Panel mount momentary switch (optional)
Items marked (included) come with the Buildbotics CNC controller. Most of the other items can be found on Amazon.
Required Tools
- Soldering iron
- Heat gun or lighter (for heat-shrink tubing)
- Phillips screw driver
- Wire stripper & cutter
- Small flat-head screw driver (for screw terminals)
LASER & Power Connections
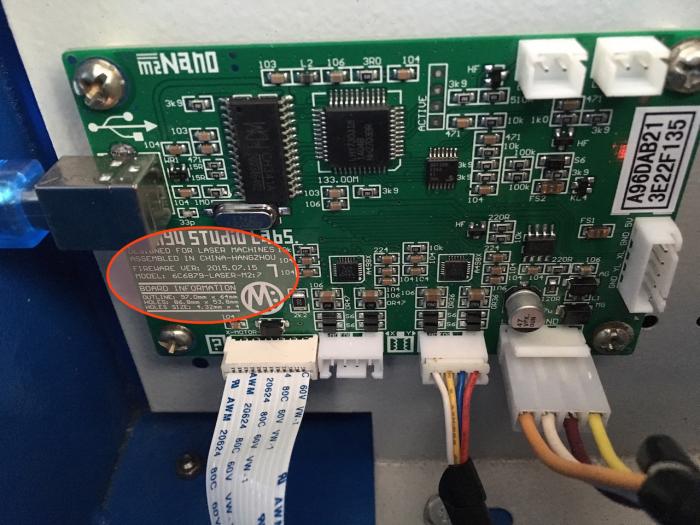
Disconnect the K40 LASER from it's power source and give it time to completely discharge. Remove the screw on the front of the right-hand operating panel and lift it open. Remove all cables from the stock K40 control board. Remove the four screws and the board itself.
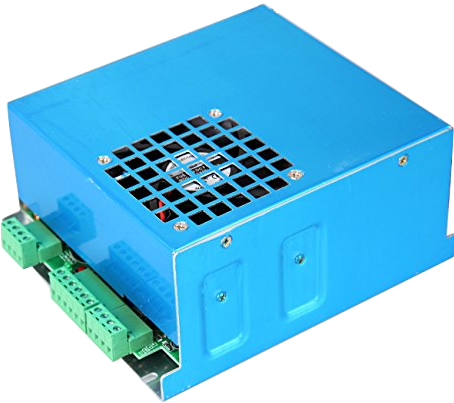
Run the Buildbotics power cable wires in to the K40 from the outside passing through the USB hole in the right side of the case. Connect the red wires from the Buildbotics power cable to the 24V screw terminal and the black wires to ground on the LASER power supply.
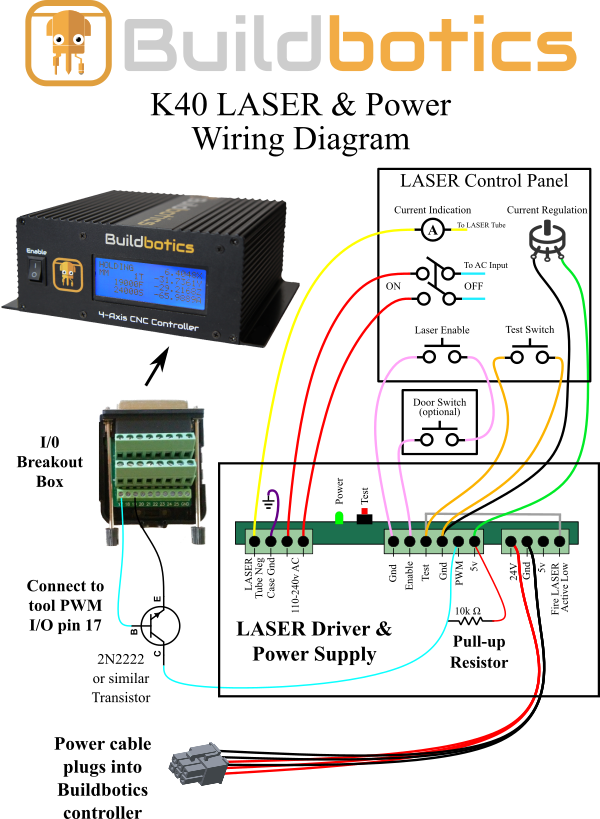
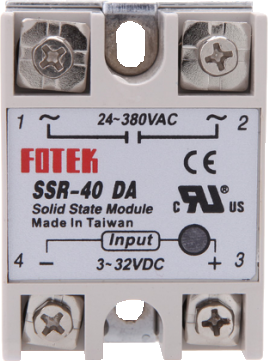
Disconnect the current regulator potentiometer output from the LASER PWM input. Then connect the 10k Ohm pull-up resistor between the LASER PWM and 5V screw terminals. Connect the collector (C) leg of the 2N2222 transistor to the LASER PWM input. Solder different colored wires to the other two transistor legs and individually cover the transistor legs then the entire transistor with heat-shrink tubing. Run the wires out the side of the K40 case then connect the transistor emitter (E) to the Buildbotics controller I/O ground on pin 19 and the transistor base (B) to I/O pin 17. See the diagram above.
The remaining connections to the LASER power supply can be left as is.
Stepper Motor & Limit Switch Connections
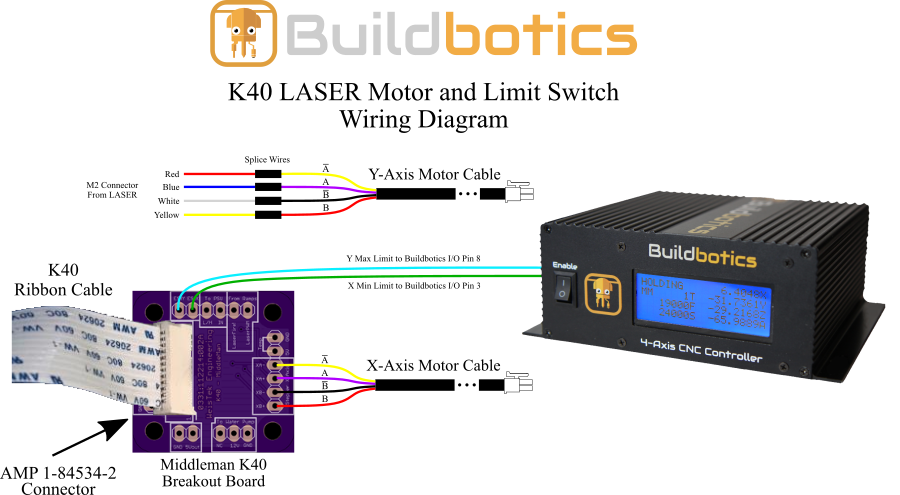
Using the Middleman K40 breakout board created by Weistek Engineering greatly simplifies wiring of the X-axis motor and limit switches. If you do not have this board, you can remove the ribbon cable and wire directly to the X-axis motor and limit switches.
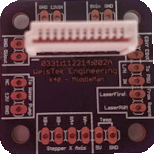
Solder the AMP 1-84534-2 connector to the Middleman board in the correct orientation. Then solder one Buildbotics motor cable to the Middleman board as show in the wiring diagram above. Insert the K40 ribbon cable into the connector making sure to orient the cable so the wires make contact.
Solder wires to the X and Y axis limit switch outputs on the Middleman. Pass them through the hole in the right side of the K40 case and out to Buildbotics I/O break out box. Connect X to pin 3 and Y to pin 8.
Cut off the M2 connector from the Y-axis stepper motor cable and splice the wires to a second Buildbotics motor cable according to the wiring diagram. Use heat-shrink tubing to cover the splice.
Wrap the Middleman board in electrical tape to insulate the connections or mount it in the K40 with electrically insulating double sided tape.
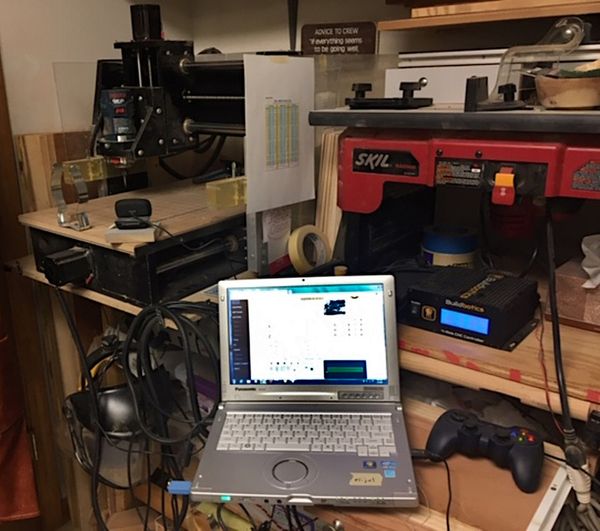
Make sure the wires and breakout box will reach then mount the Buildbotics CNC controller to the outside of the K40 case on the right hand side using strong double sided tape. Close up and plug in the Buildbotics I/O breakout box. Plug in the Buildbotics power cable. Plug in the X motor cable to motor channel 0 and the Y motor cable to motor channel 1. Connect the Buildbotics controller to your local network and plug in the USB Gamepad.
Configure the Buildbotics CNC controller
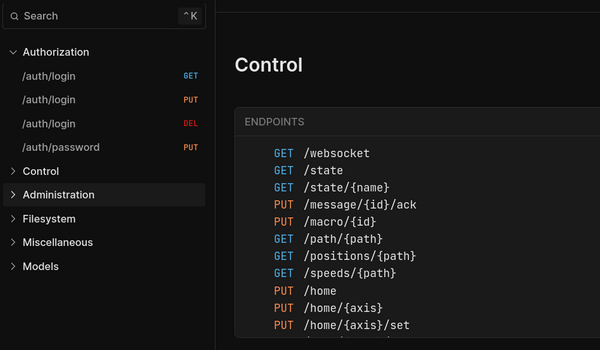
Double check all of your connections then with the K40 lid closed plug in the power, turn the LASER power switch on then switch the Buildbotics controller on. On a computer on your network navigate to http://bbctrl.local/. If this does not work, use the left arrow on the Gamepad to move to the networking screen on the controller's LCD screen. Find the IP address of the controller on the LCD screen then visit that IP address in you browser.
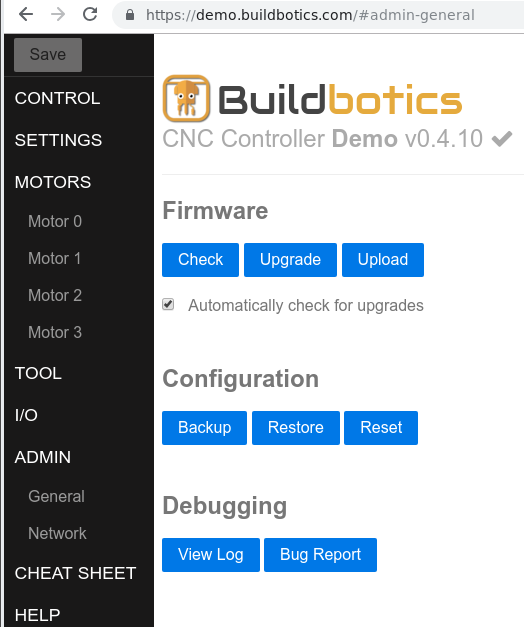
From the Buildbotics Web interface, select the Admin -> General tab then click the Restore button in the Configuration section to load the K40 configuration file in to the Buildbotics controller.
Test the setup by homing the LASER via the Buildbotics Web interface. The following GCode should control the LASER:
Turn the LASER on:
M3 S100
Turn the LASER off:
M5
The stop or e-stop buttons should also turn off the LASER. The LASER power switch can also be turned off in an emergency.
Run the Test GCode
If all seems well, insert a 3" x 3" (75mm x 75mm) piece of 1/4" (6mm) thick wood, zero to the bottom left corner and run the Buildbotics LASER test GCode. If all is well you should end up with a nice engraving of the Buildbotics logo.
Help
Questions or comments, email us at info@buildbotics.com.
Video of LASER Engraving Project
Here's a video of us using the upgraded K40 LASER to engrave a wooden locket.