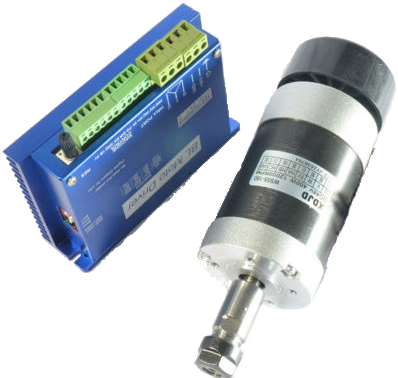
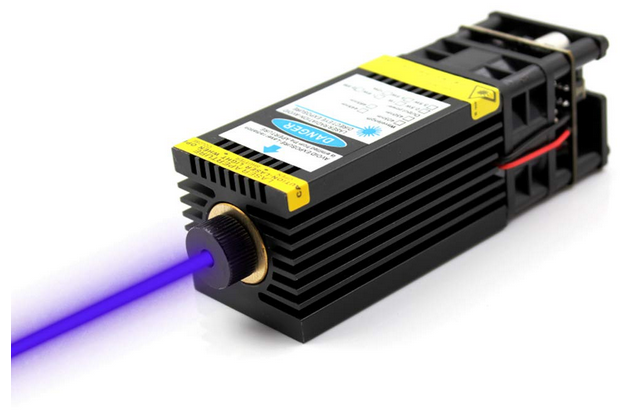
I’ve been wanting to dabble with laser engraving on wood, but the cost of the most popular lasers was holding me back. I finally decided to take a chance on one of the inexpensive lasers and ended up with an Oxlasers 3.5 watt 450nm diode laser.
This laser was only $90 on Amazon compared to nearly $300 for a similar laser from another company. Needless to say, I was a bit skeptical about whether it would work at all. The web site didn’t provide much information and I was hoping that there would be some documentation with it when it arrived. There wasn’t (of course).
After looking it over, it seemed to be pretty obvious how to hook it up, so I gave it a try. There is a 3-pin connector on the top, with the pins labeled 12V, GND, and PWM.
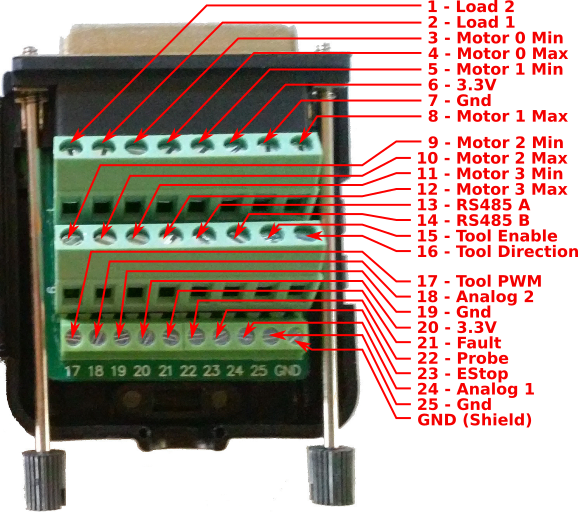
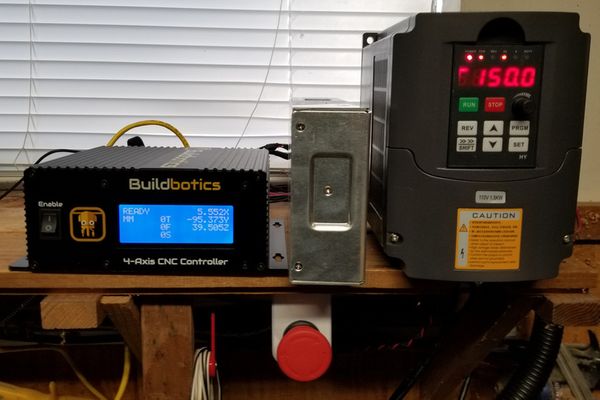
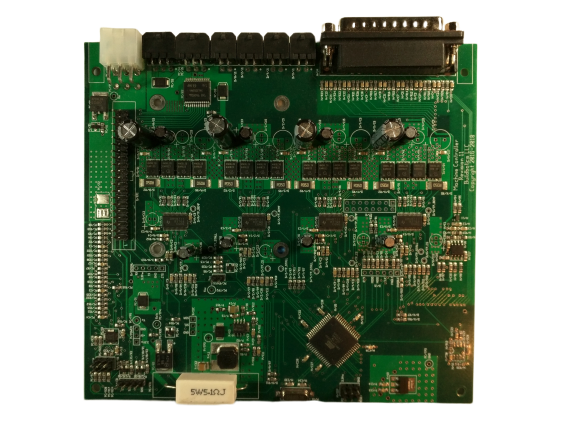
The laser came with two cables. Both matched the connector on the laser, but one had four wires on the other end while the other had three. I cut the connector off of the opposite end of the four wire cable and (following the wire colors), I connected 12VDC and GND to a 12 Volt DC power supply that I had laying around. Then, I hooked the PWM and GND wires to the PWM and GND output on my Buildbotics Controller.
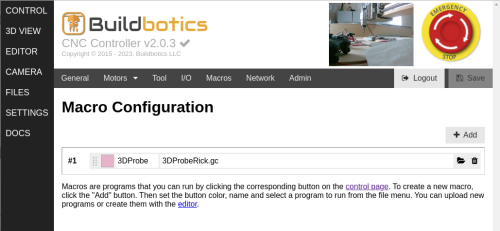
Re-configuring the Buildbotics Controller was easy. I simply had to specify that I was using a PWM spindle, set the duty cycle parameters, and turn on two special laser features. Go to www.buildbotics.com to learn more about the Buildbotics Controller.
I pointed the laser in a safe direction and donned the laser glasses that came with the laser. I turned everything on and pressed the off/on button on the top of the laser and started issuing G-Code commands (M3, M5, and S####). The laser came right on and I was able to change the intensity with S commands.
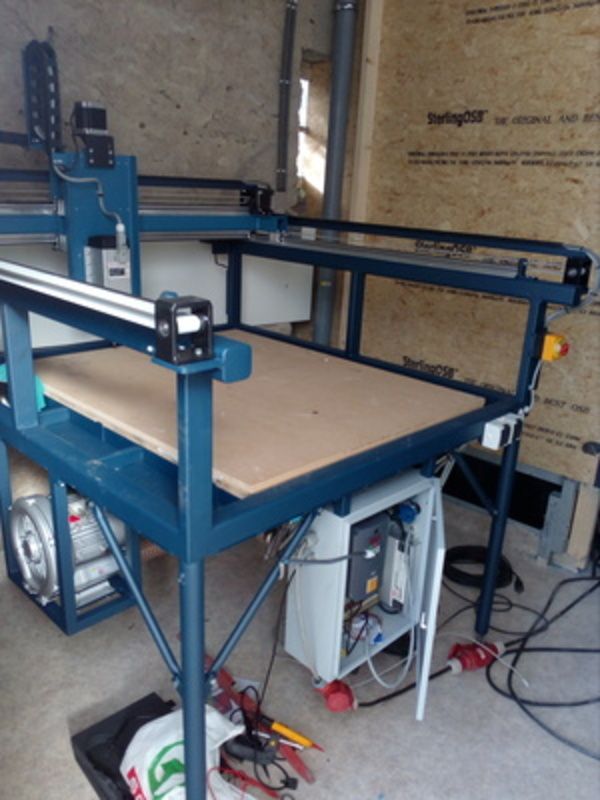
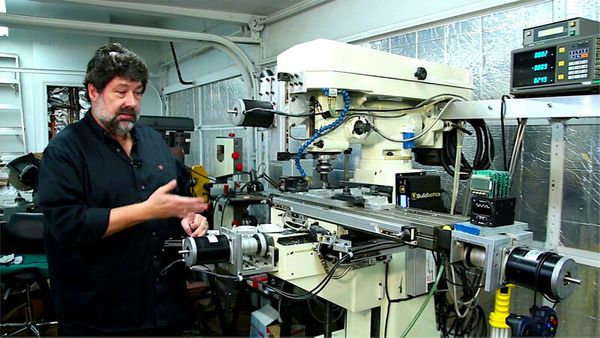
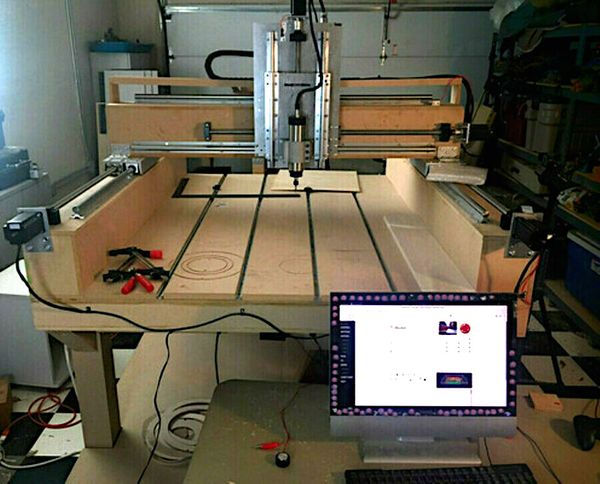
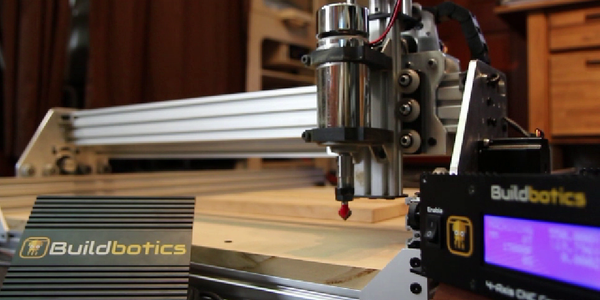
Then, I tore it all down and proceeded to build a mount so I could attached it to my CNC router.

I just made a bracket that attaches the laser to the Z-axis slide. Then, I used a 9" cake pan to make a hood that reduces the likelihood of the laser beam going places that I had not intended. I’ll probably add a window to it later, but didn’t have the proper material available that blocks 450nm light. I will still wear my laser safety glasses even with the hood in place.
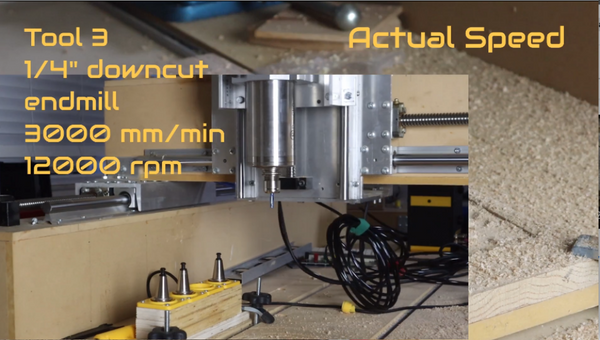
Here’s a short video of the machine in action.
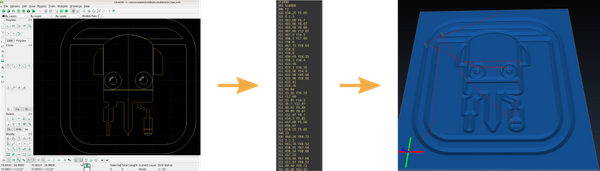
Finally, here is an example of the result.

These images is 100mmx100mm with .25mm resolution. They were burned onto a piece of MDF. The feed rate of the image on the left was 1500mm/minute. The feed rate of the image on the right was 2250 mm/minute. It took 14 minutes to print the image on the right.
Overall, the Oxlasers laser is a pretty good deal. While there was no documentation, it was pretty simple to figure out how to use it. It was easy to set up and very easy to integrate with the Buildbotics Controller. Once you get the laser focused, it seems to print very sharp images. I don’t know how long it will last, but for now, it seems to be doing what I had hoped.