Introduction
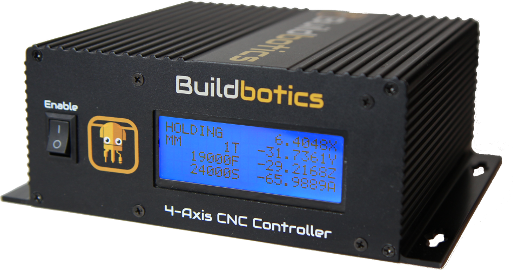
The user interface for the Buildbotics CNC Controller is really nice. It's easy to use and flexible. But, every user and application is different and the interface may not be optimal for every case.
Maybe you want to run it from your smart phone, but find the web interface to be too busy to all fit on a smart phone. Maybe you want more macro buttons. Maybe you want to limit the things a user can do. You get the picture, there always things that could be done differently or more efficiently for each unique user and application.
That's where the Buildbotics Applications Programming Interface (API) comes in. We recently published a full description of the API and quietly announced it. This describes how to use it.
Also, check out my blog post titled Creating a CNC Jogging App for an Android Phone to see a real life example.
API Overview
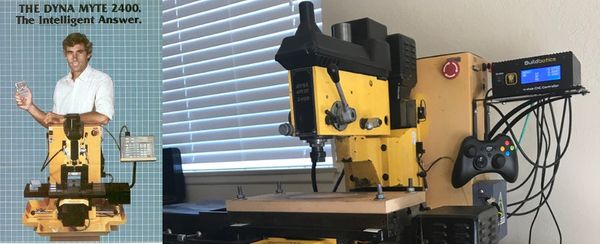
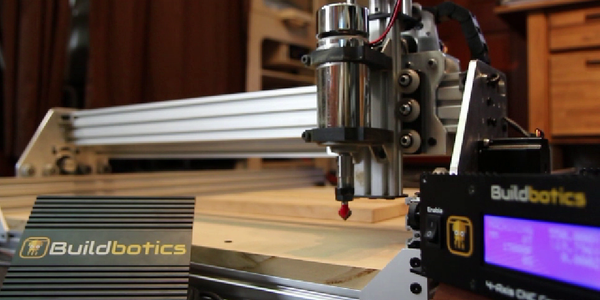
Applications that use the API will connect to the Buildbotics Controller via the hardwired Ethernet port or through the WiFi interface.
The API exposes WebSocket and HttpRequest interfaces.
The WebSocket interface initially receives many state variables from the controller when the websocket is first opened and then subsequently receives those variables again whenever they change.
The WebSocket interface can also be used to run Manual Data Input (MDI) commands.
The HttpRequest interface is used to send specific commands and send or receive information or files.
WebSocket Interface
Most applications need to monitor the state of the machine. That single interface will send back the state variables and their values and then send each variable again if it changes.
Here's some javascript code that will open a WebSocket with my Buildbotics CNC Controller and then handle the state messages as they arrive.
is_object(o) {return o !== null && typeof o == 'object'},

update_state(state, update) {
  for (const [key, value] of Object.entries(update))
    if (is_object(value) && is_object(state[key]))
      update_state(state[key], value)
    else state[key] = value
}

let state
let ws = new WebSocket('ws://192.168.12.243/websocket')

ws.onmessage(event) {
  let msg = JSON.parse(event.data)
  if (state == undefined) state = msg  // First message
  else update_state(state, msg)        // Update messages
}
The 'let state' line initializes a variable called state, which will ultimately maintain a list of all variables and their current value.
This piece of code opens a WebSocket with the Buildbotics Controller and puts it in 'ws'. The argument to WebSocket is a Uniform Resource Locator (URL). Replace '192.168.12.243' with the IP address for your controller.
Then, whenever a message arrives, the code in ws.onmessage is called with the message contained in the 'event' argument. 'msg' is then gleaned from the event. For the first message, the variable state is set to msg. Subsequent messages are passed to update_state.
update_state then finds all the variables and their values in 'msg' and updates state.
Now that you have the variables, you can monitor them and take whatever action desired based on their valued. For instance, you could add a line to update_state that raises an alert if the machine is estopped.
update_state(state, update) {
  for (const [key, value] of Object.entries(update))
    if (is_object(value) && is_object(state[key]))
      update_state(state[key], value)
    else state[key] = value
    if (key === 'es' && value == 0) alert('Machine Estopped!')
}
The variables and their definitions are documented in bbctrl-vars-schema.
You can also send messages to the Buildbotics Controller via this same WebSocket. Any command that can be sent through the MDI interface on the Buildbotics Control page can also be sent through this WebSocket interface. For instance, if I want motor 0 to set to homed, I could use a command like this.
ws.send('0homed=1')
HttpRequest Interface
The HttpRequest interface is used for sending and receiving files, loading and setting the configuration, telling the machine to run, stop, start, pause, jog, reboot, estop, and lots of other things. The Applications Programming Interface (API) document provides a detailed list of the commands that the Buildbotics Controller accepts.
These commands use 'GET', 'PUT', and 'DEL' HttpRequests as described in the API. The API also specifies the URL for each command. The API provides nice examples of how to send and receive each command in various technologies such as unix Shell, javascript, java, python and others.
In javascript, it's best to use fetch commands.
Here's an example of how to read the hostname in javascript.
try {
  const response = await fetch('http://192.168.12.243/api/hostname);
  if (response.ok) {
    const data = await response.json();
    console.log('got response', data);
   }
} catch (e) {
  console.log('error:', e);
}
Note that the javascript fetch command automatically assumes a 'GET' request if the request method is not specified.
Here's an example of using the controller to start jogging on the X axis at full speed.
try {
  const response = await fetch('http://192.168.12.243/api/jog', {
                        method: 'PUT',
                        body: JSON.stringify({'X': 1,'ts':Date.now()}),
                        headers: {
                        'Content-Type' : 'application/json',
                    },
  });
  if (response.ok) {
    return;
  }
} catch (e) {
}
Here's an example of how to write a file to the Buildbotics Controller.
async writeRemoteFile(data, path, fileName) {
  let fd = new FormData();
  let blob = new Blob([data], {type: 'text/plain'});
  let file = new File([blob], fileName);
  fd.append('file', file);
  let url = path + fileName;
  await fetch(url,{method :'PUT', body: fd})
}

writeRemoteFile('this is some file content',
                'http://192.168.12.243/api/fs/Home/',
                'newfile.txt')
Conclusion
The Buildbotics API can be used by developers to do pretty much anything you want. Remember, freedom comes with responsibility. It's certainly possible to mess things up on your Buildbotics CNC Controller royally using this interface. I recommend making a backup of your MicroSD card before you start.
If you are planning to do applications development on the Buildbotics CNC Controller, please consider joining our Applications Development forum.